How To Use Templates For Printing Your Artwork As Fabric (Pocket Tees, Hoodie Liners, etc)
Are you creating artwork for your pocket tees, custom beanies, or hoodie liners and want it to turn out perfect? If you are wondering how to “line up” your artwork so that you can accurate crop you have come to the right place.
Once you download the template, open it in Photoshop, Gimp, or your favourite graphic design program that supports layers and transparency.
Add your artwork as a new layer below the template outline.
Your artwork must extend to the edge of the file (not stop at the outline). The space outside the pocket outline will not be visible in the finished product. It is bleed so that we can wrap that area behind the pocket or patch without showing any white fabric underneath.
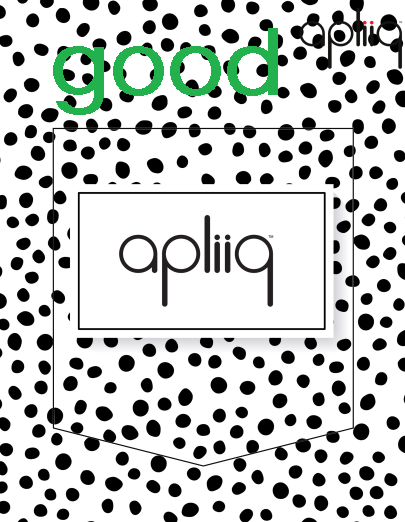
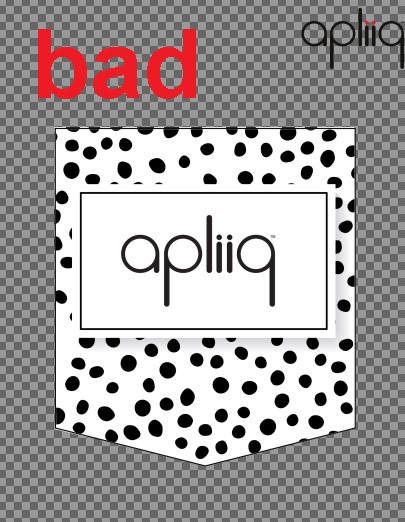
Once you have lined up your artwork so that your artwork is perfectly displayed within the outline, hide the outline layer and export your artwork as a .png file. Upload your file to the designer and stretch your file to align your artwork within the pocket, patch or hood lining.